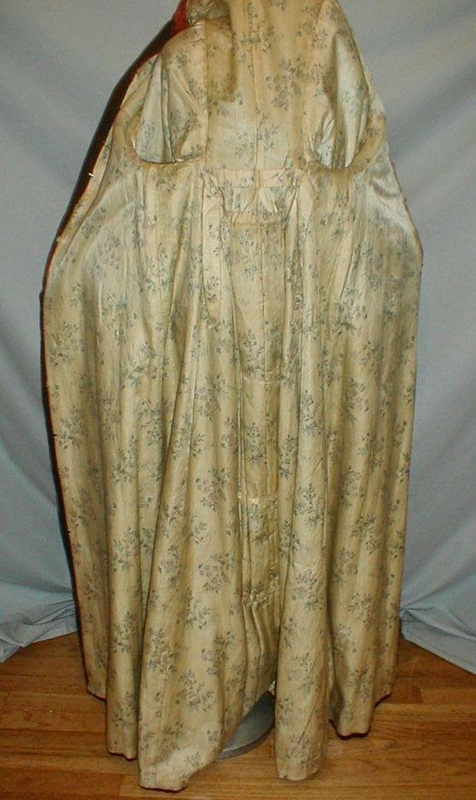
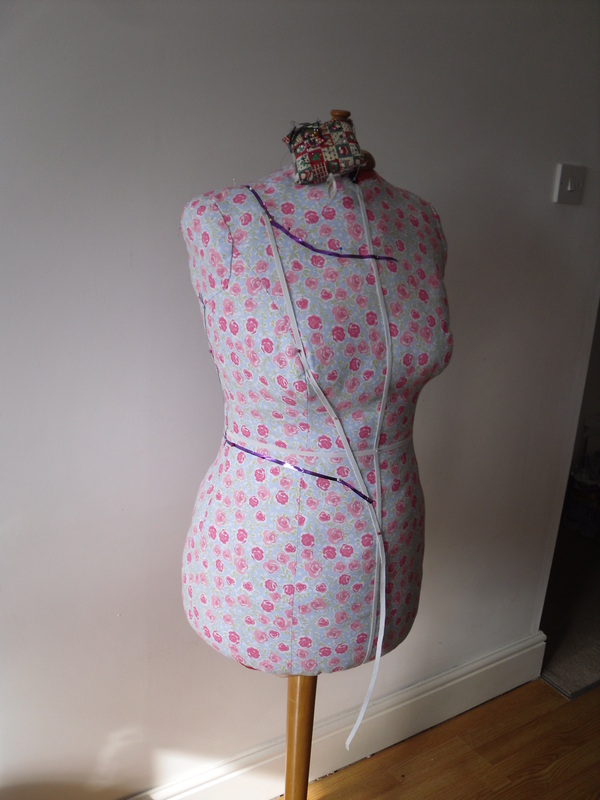
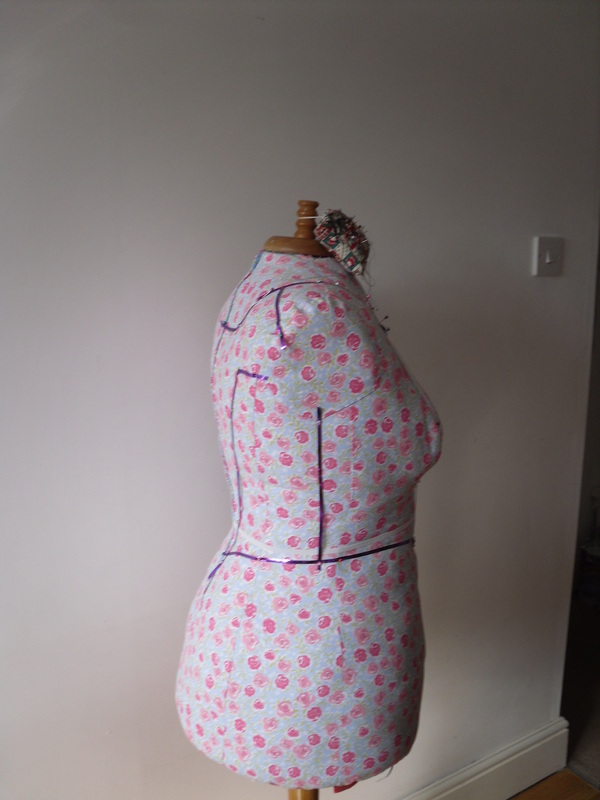
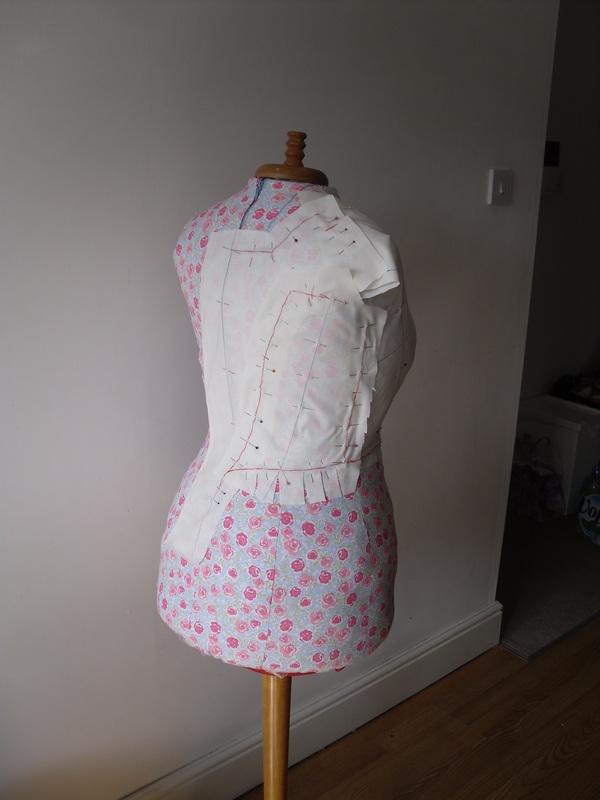
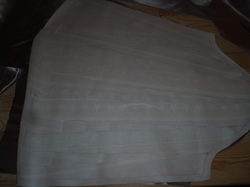
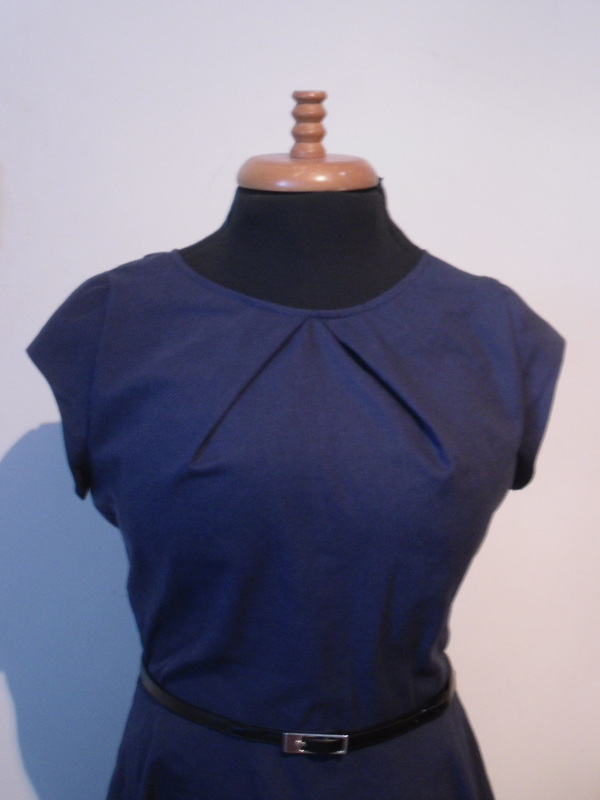
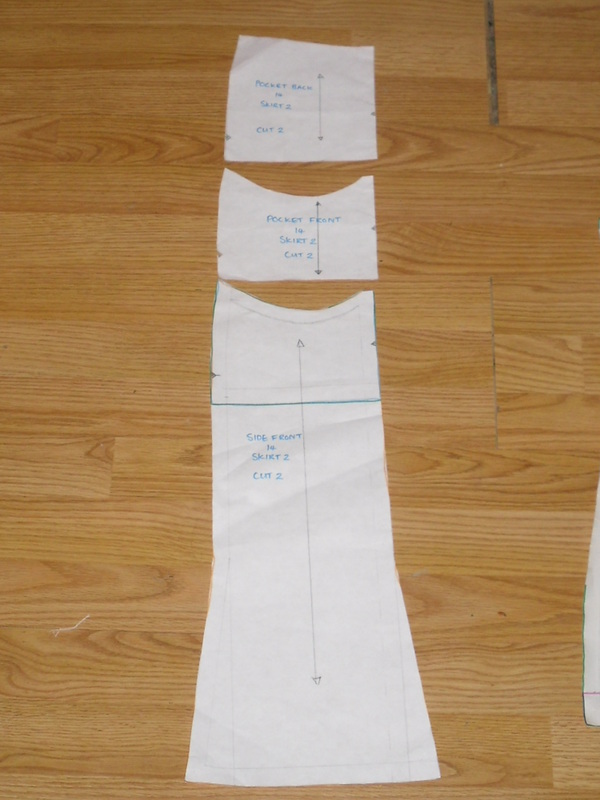
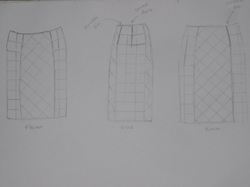
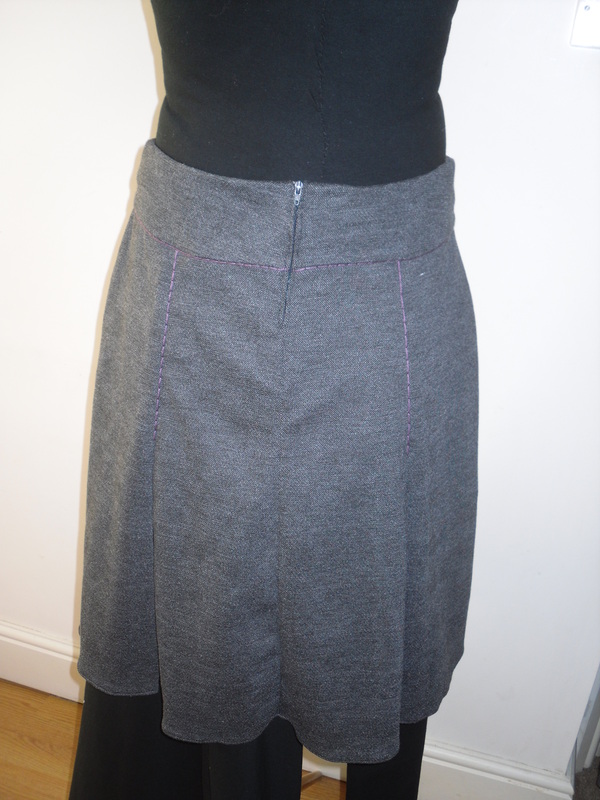
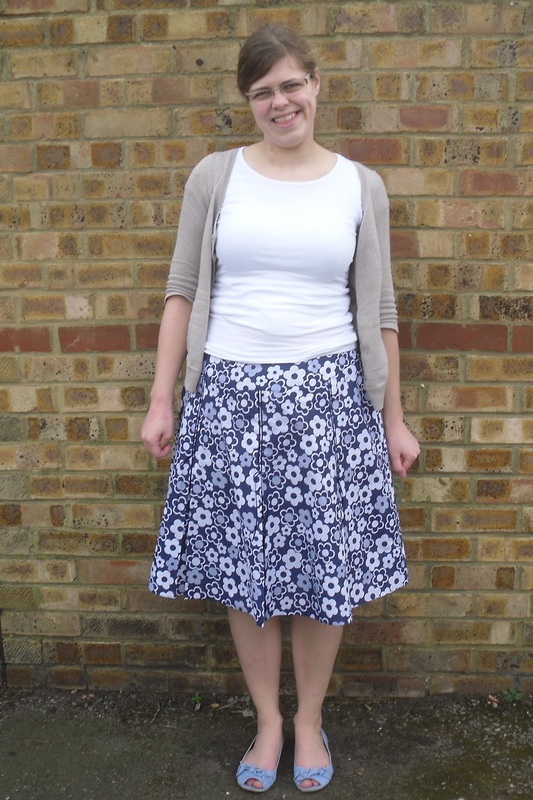
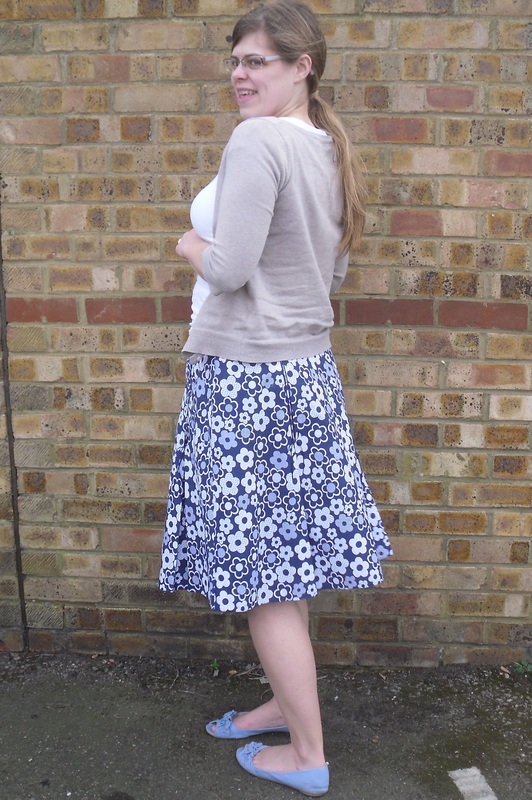
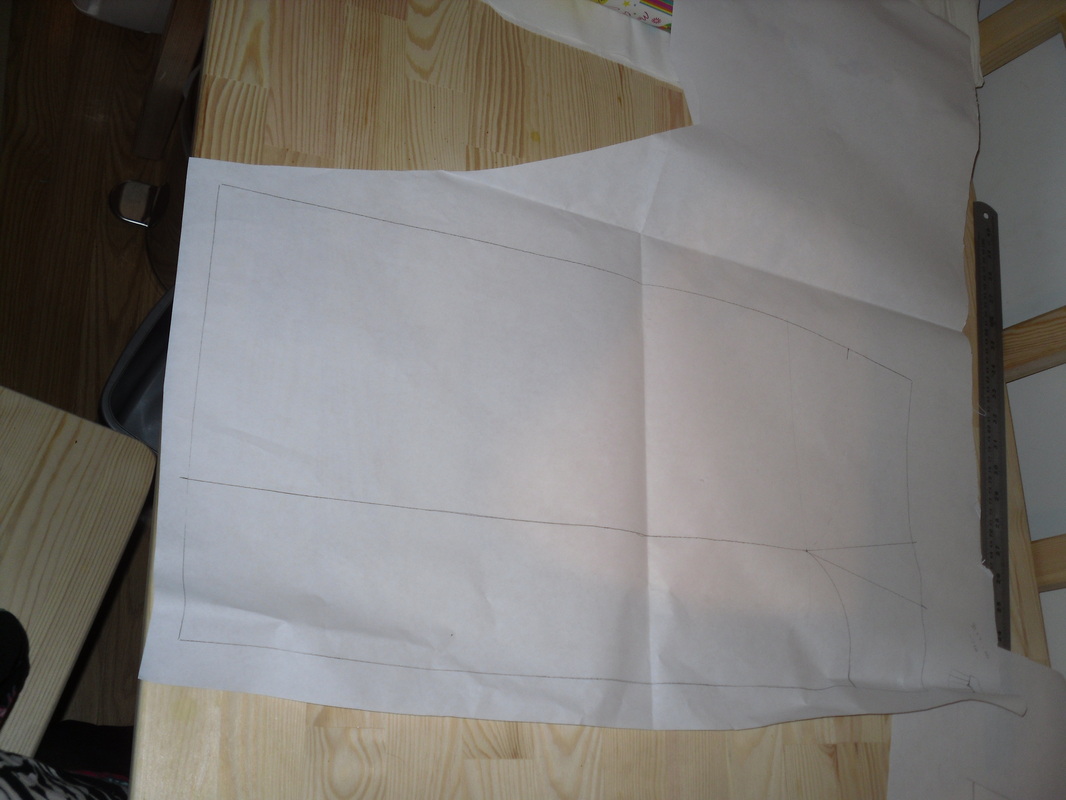
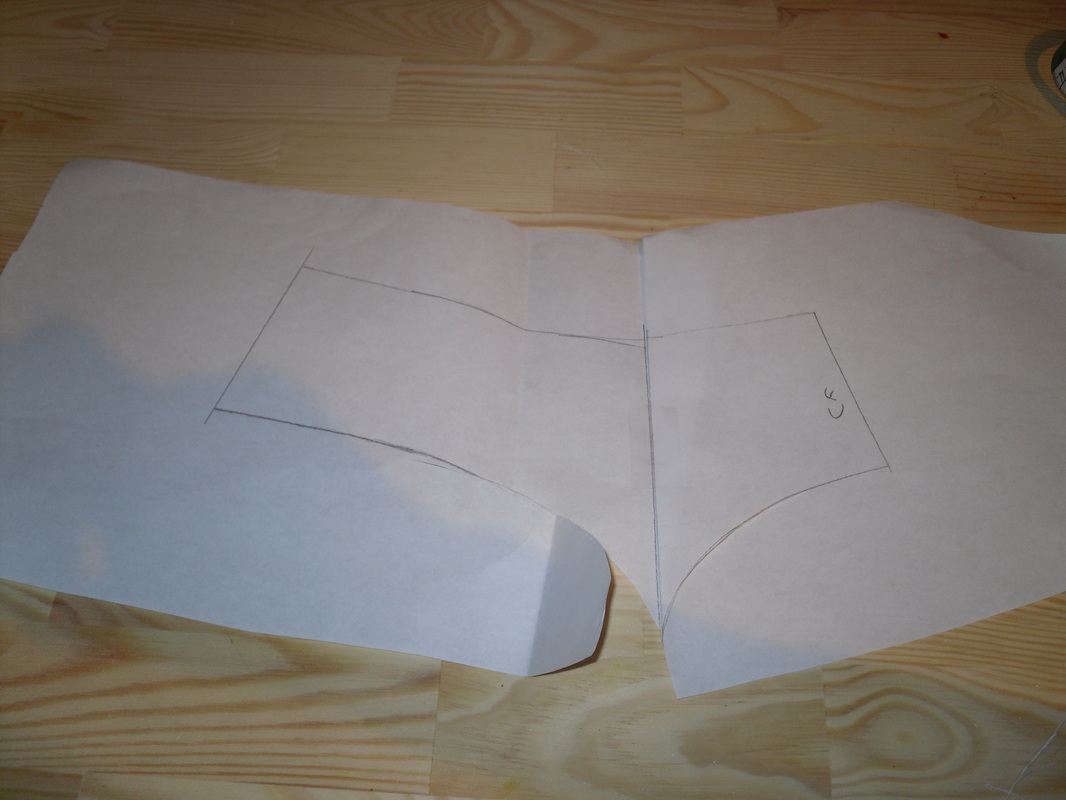
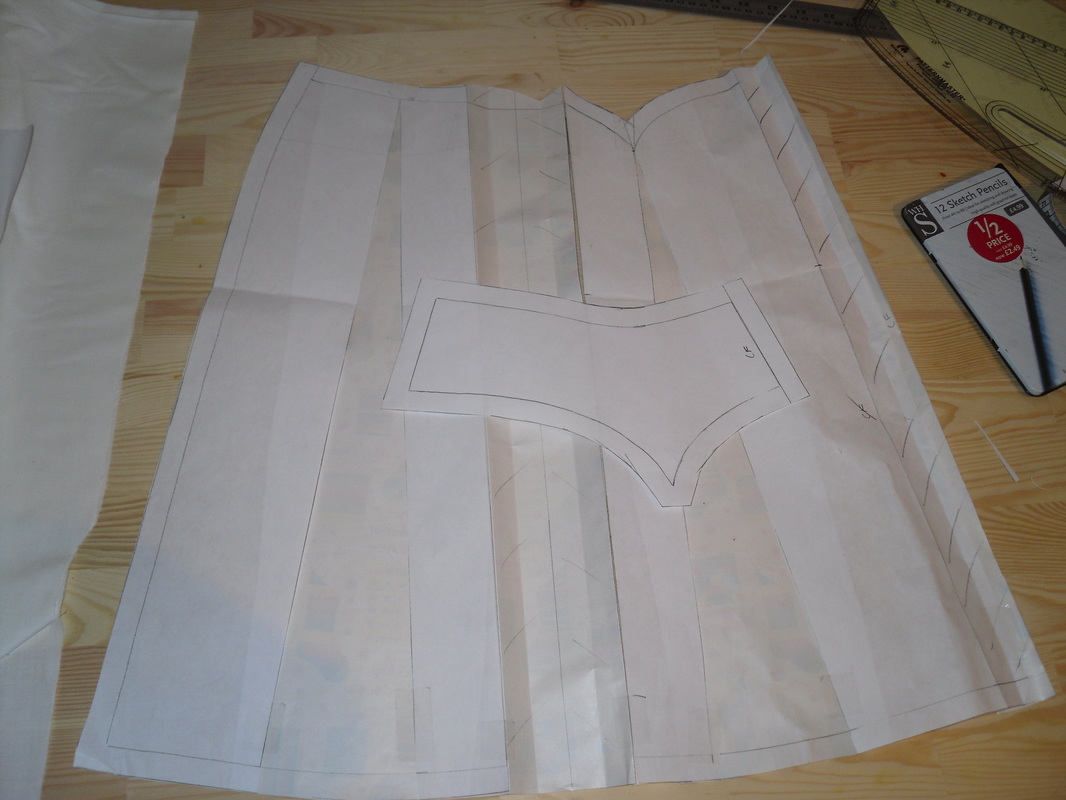
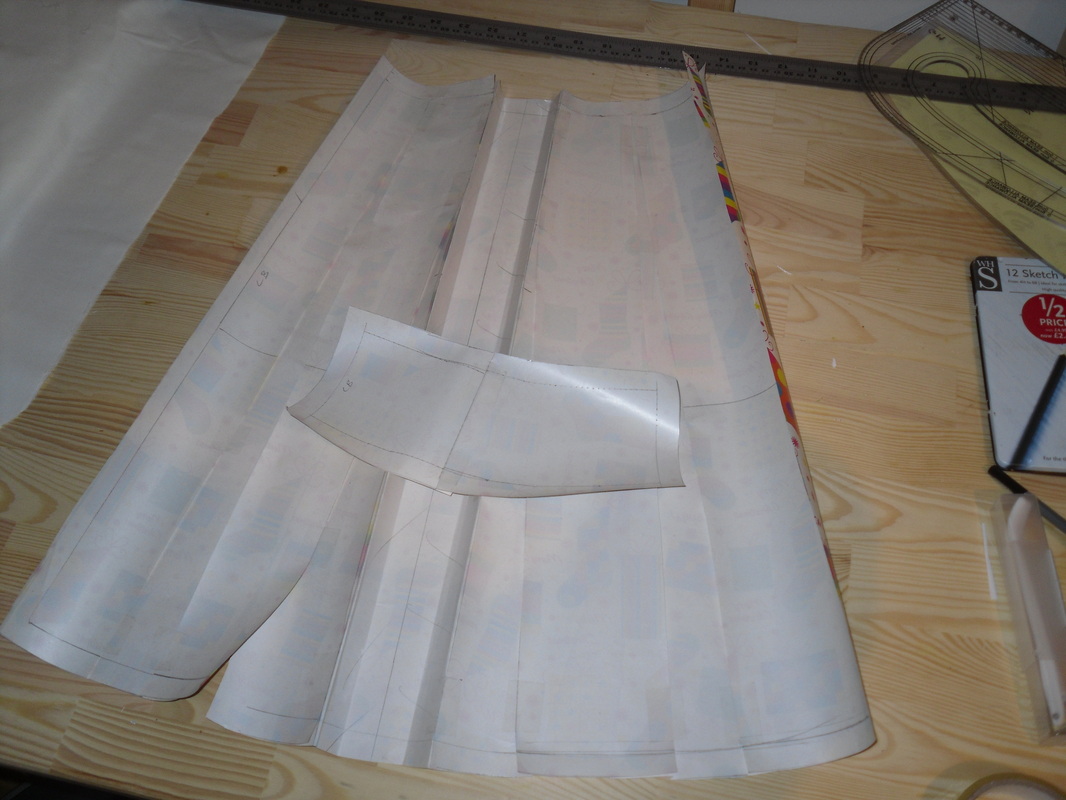
I'm really pleased with how this pattern turned out - everything fit together first time and the sizing is spot on - in fact, I added extra seam allowance when I cut it out and made it up a little larger than drafted so I'd have room to take it in, and I think I should have gone with making it up exactly as drafted. Never mind, I can readjust :)
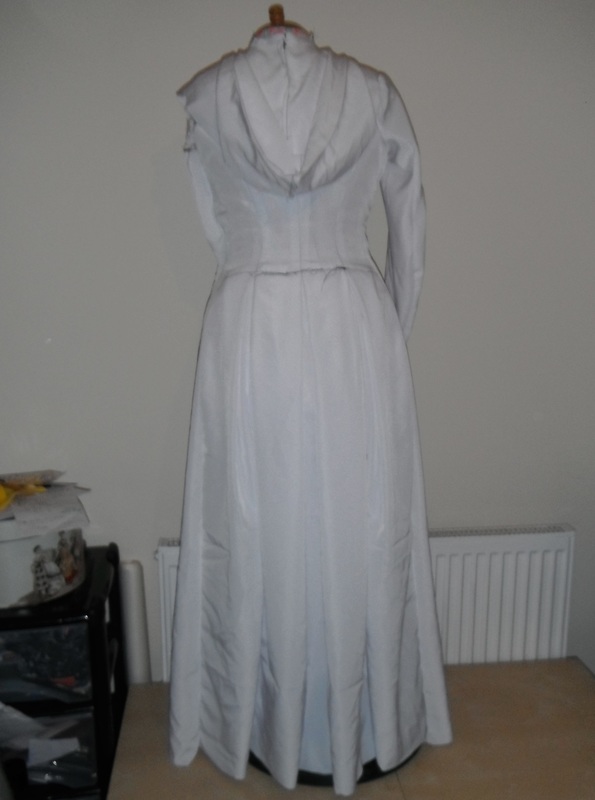
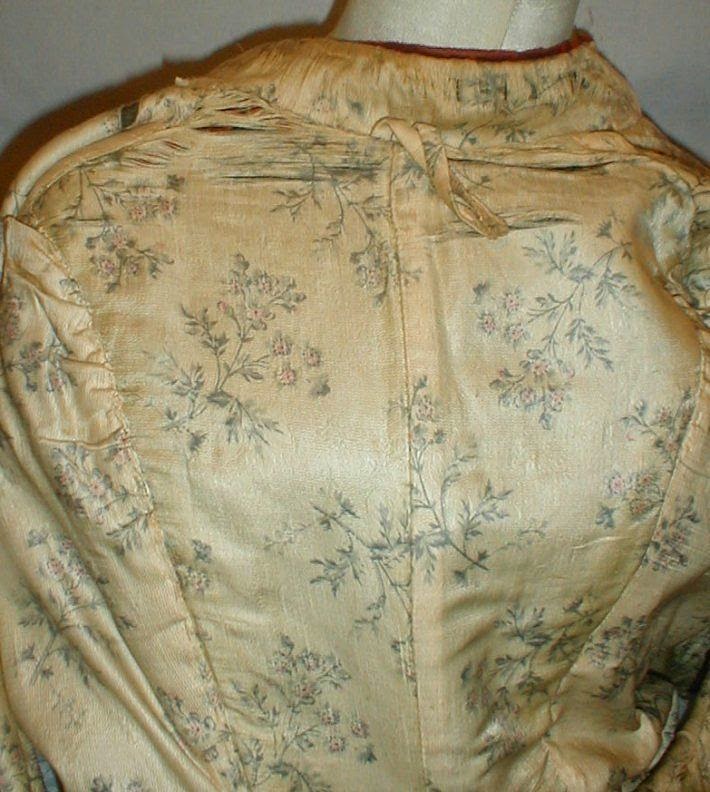
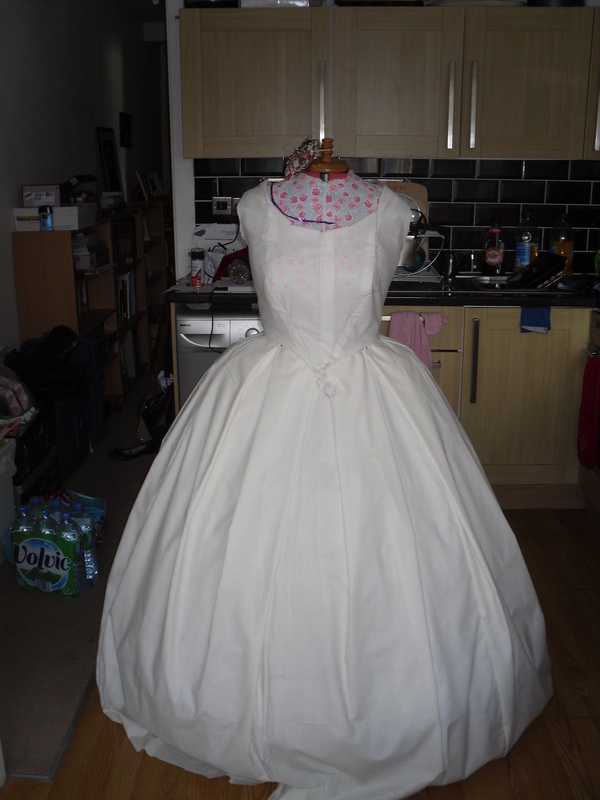
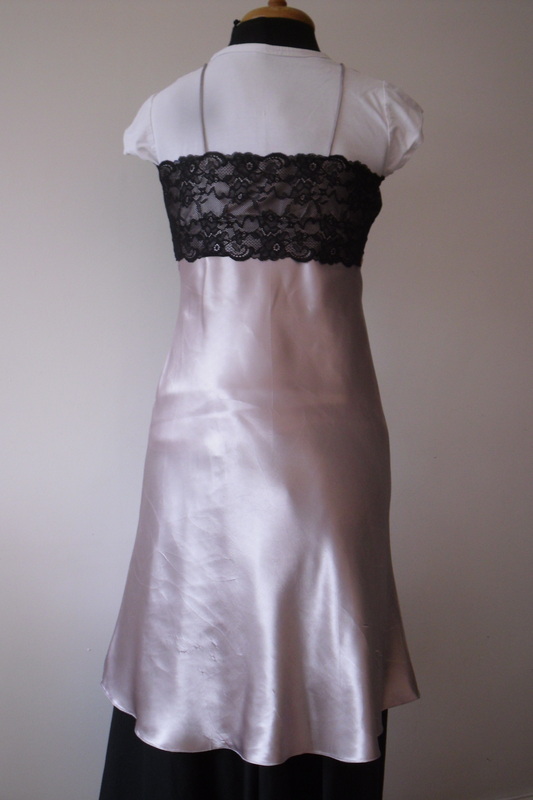
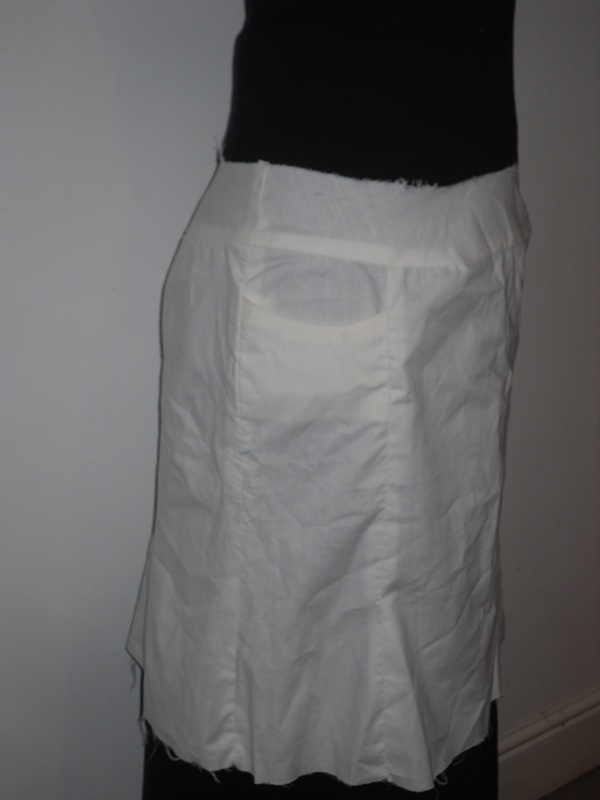
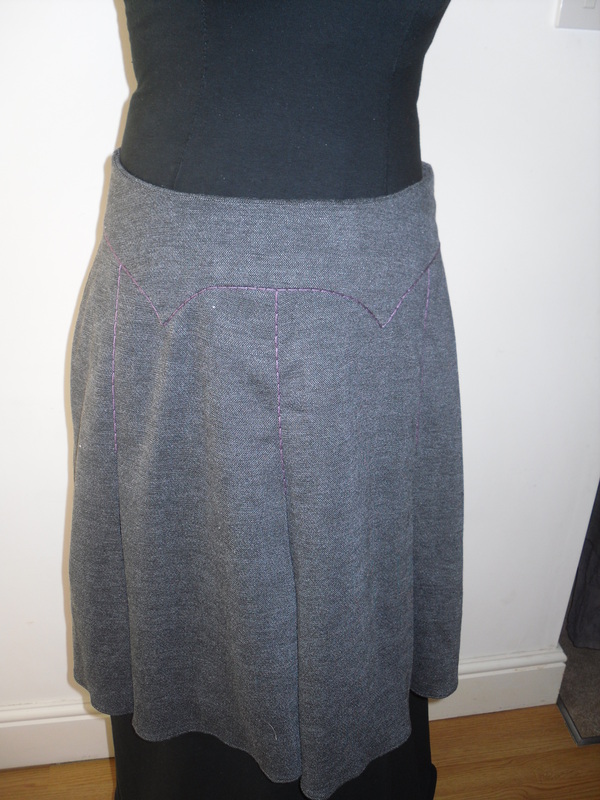
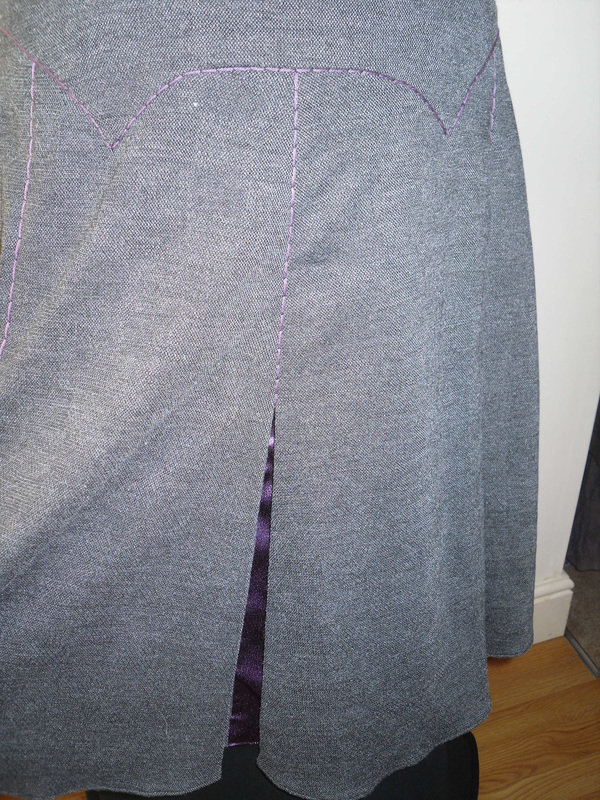
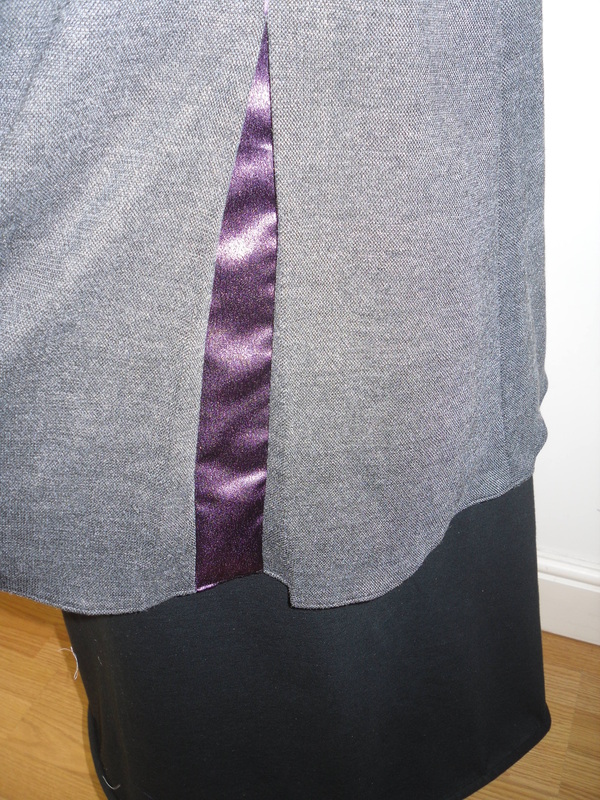
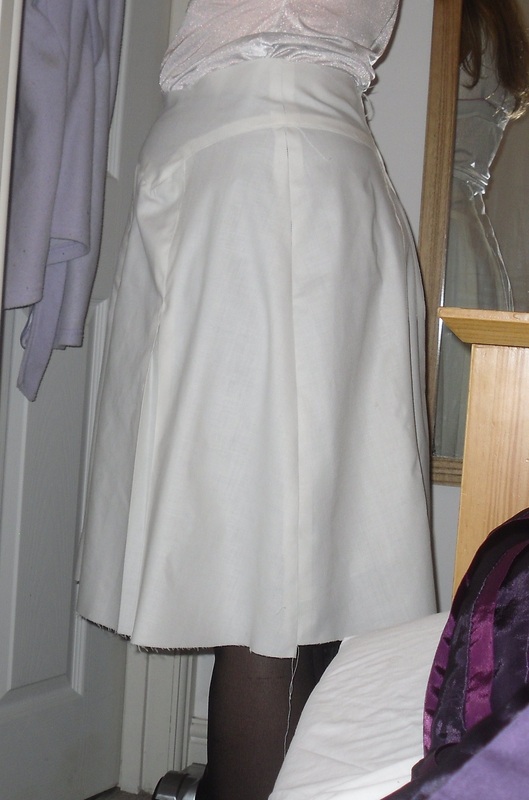
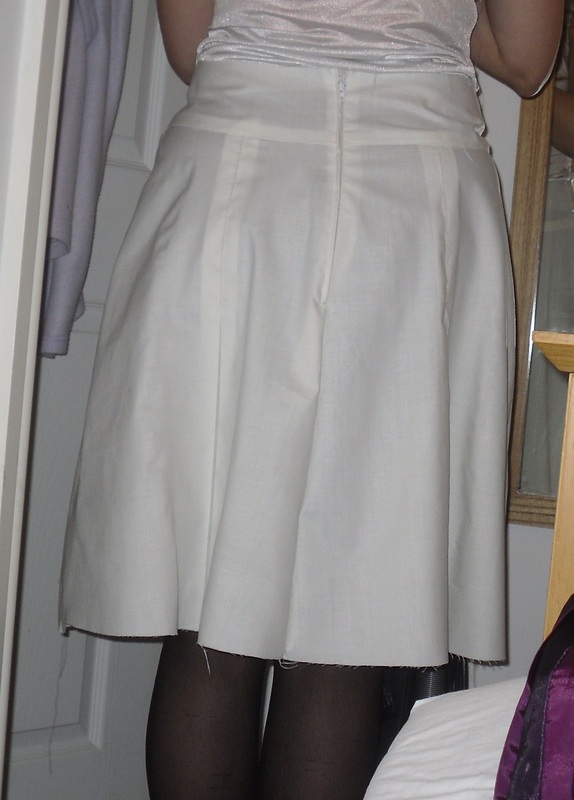
The bad news is that when I tried to put it on my adjustable dressform her bottom fell off! So here it is on a slightly too big non-adjustable dressform.
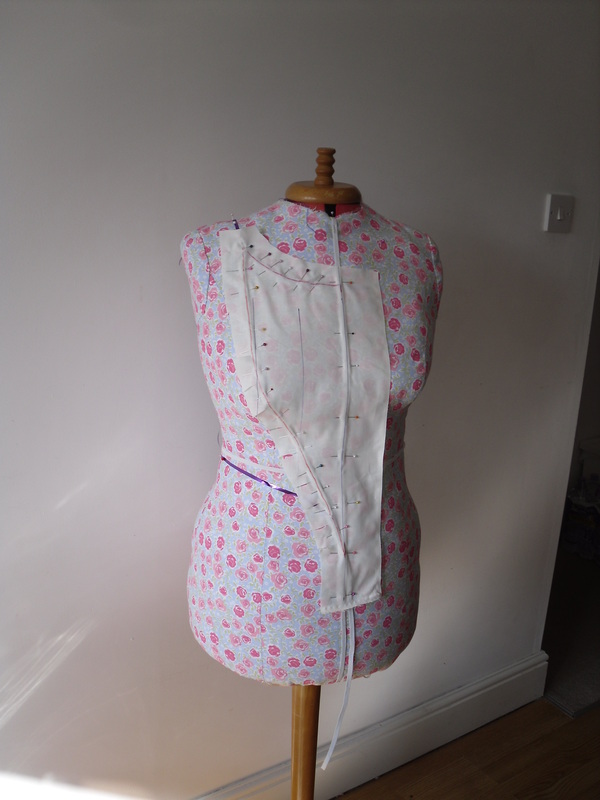
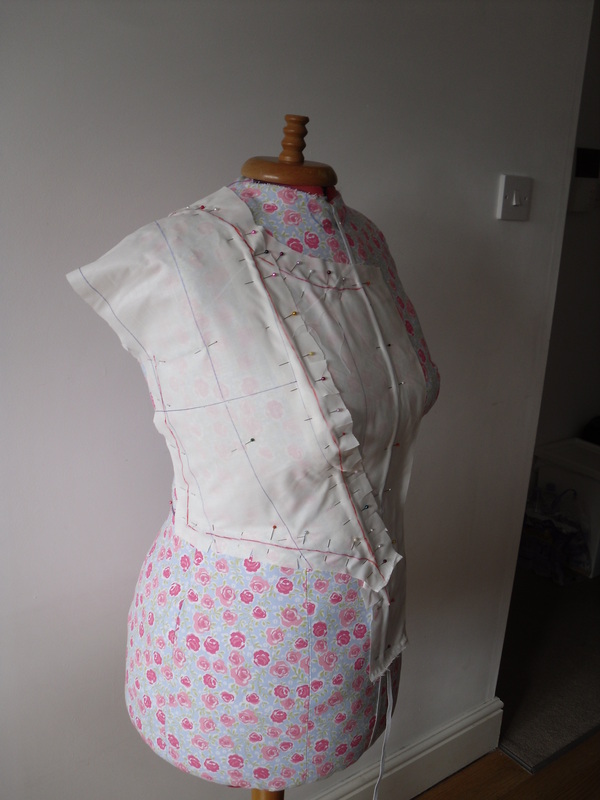
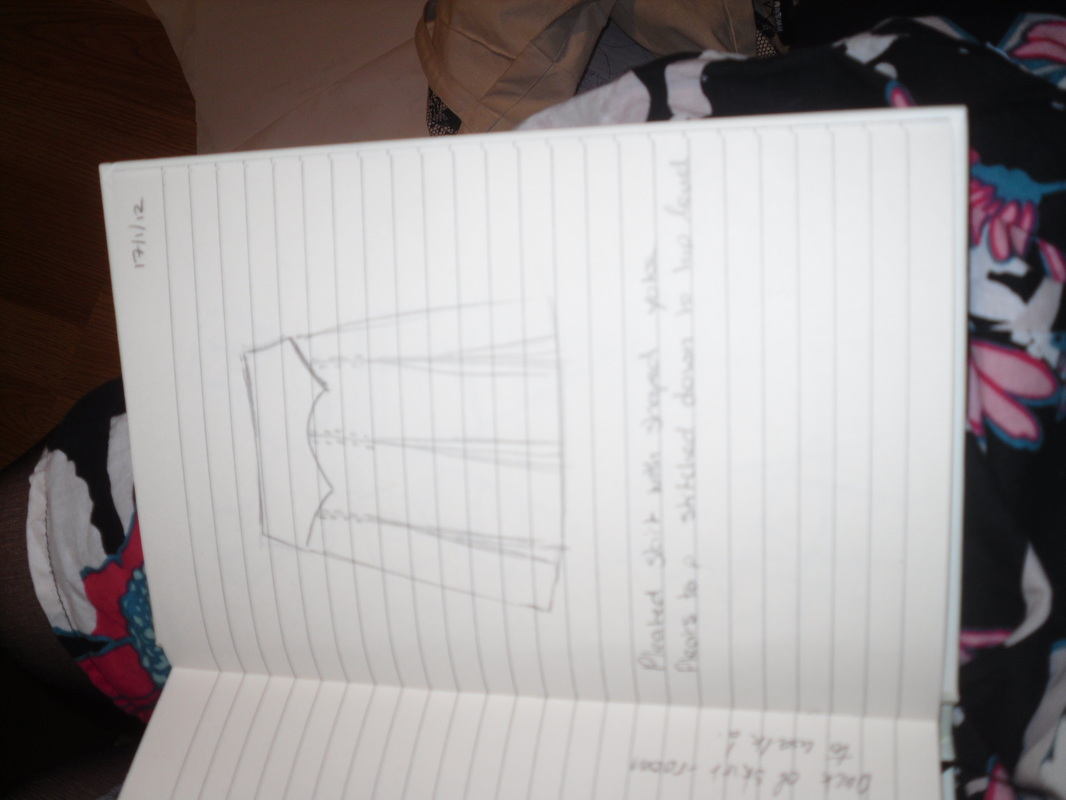
Next step: drafting the collar and a second draft of the hood.
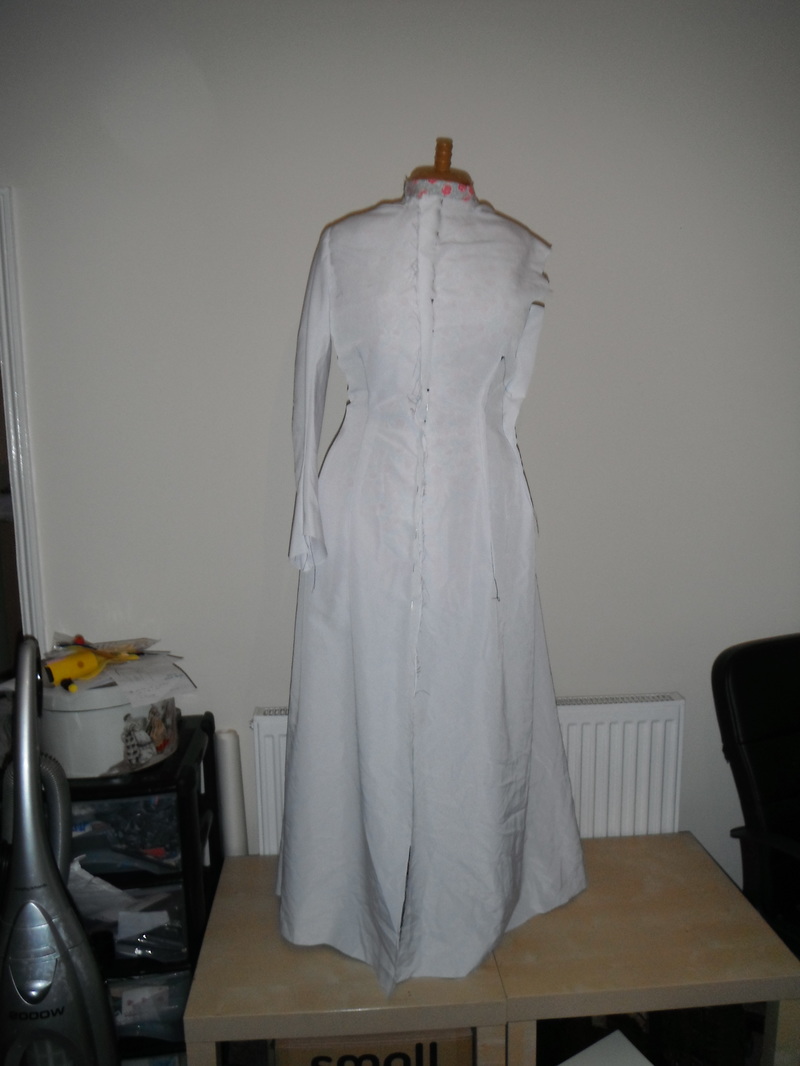
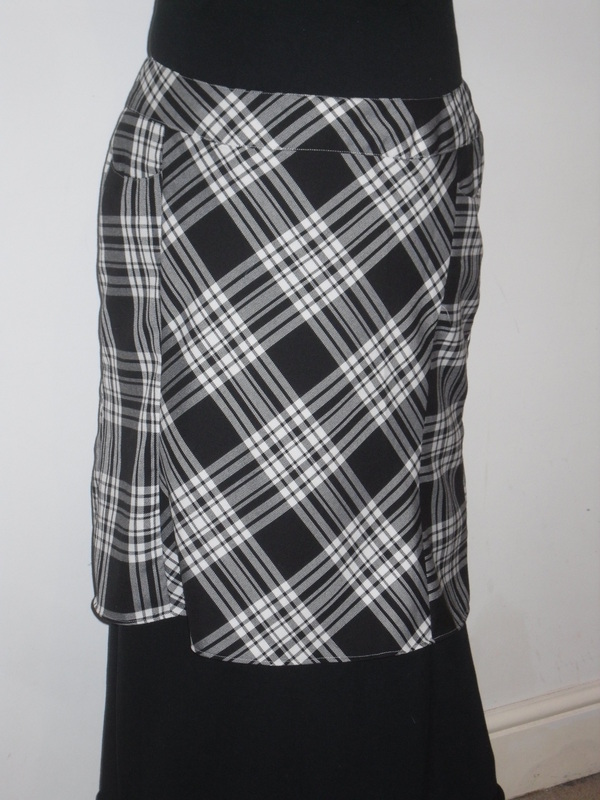
The bad news is that when I tried to put it on my adjustable dressform her bottom fell off! So here it is on a slightly too big non-adjustable dressform.
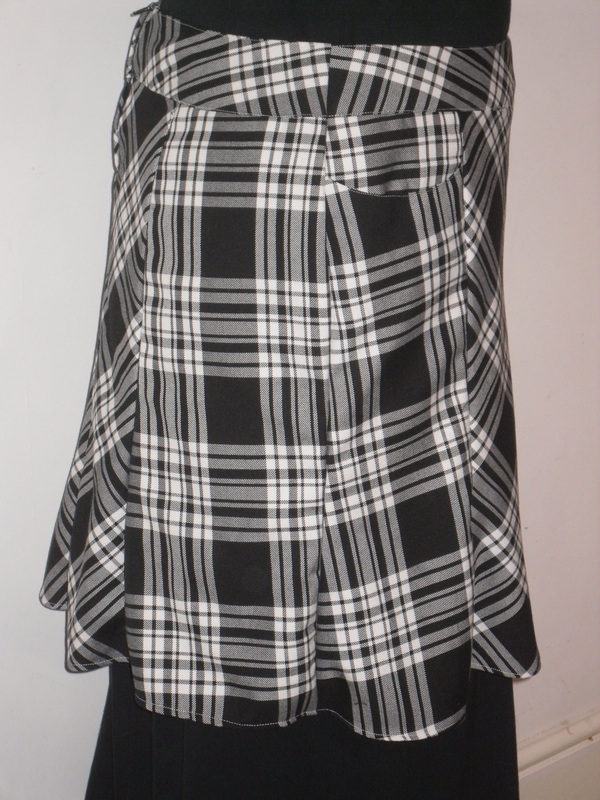
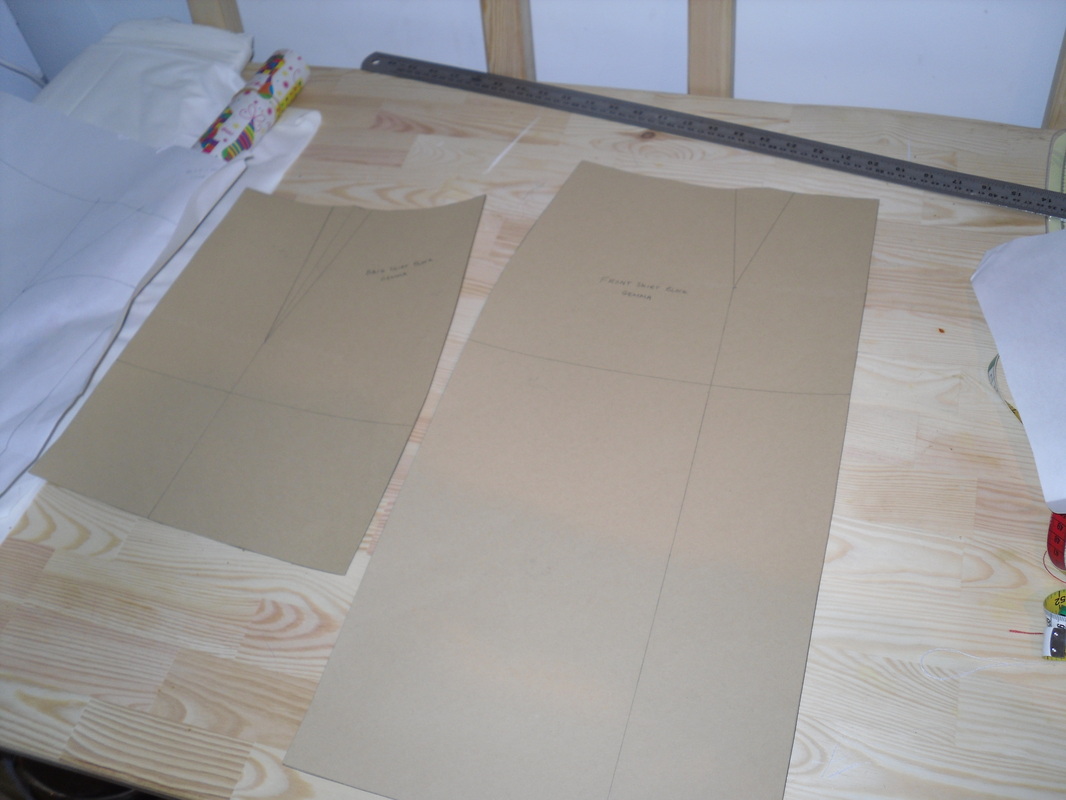
Next step: drafting the collar and a second draft of the hood.


 RSS Feed